Without the right framework for your design presentation, your clients won’t be able to see the vision you have created. This is why having a top-class web design proposal is absolutely crucial to winning clients over. It’s also the perfect opportunity to truly showcase your skill and expertise.
Each website presentation will be different, but there is a standard framework you can use to streamline the process. So, perfect your presentation skills and start locking in those clients.

1. Introduction
This section is like the “taster” or appetizer and is not meant to overwhelm your potential clients. To create a positive first impression and capture the audience’s attention, start by addressing the client or attendees of the presentation. Introduce yourself and your company or freelance business. Express gratitude for the chance to present your web design proposal and summarize the previous discussions you’ve had with the client to showcase your understanding of their needs and objectives. Next, provide a brief overview of how your presentation will be structured and flow.

2. Overview of the Problem Statement
This section will detail and explain the reason you need to be hired and the current “problems” you intend to solve. It’s always best to focus on the pain points you have gathered from your client and the problems with their current website design instead of focusing on preaching the benefits they’ll get with your work and proposal.
The points you emphasize about the deficiencies you can improve on or solve in their website design will motivate them to spend money on your proposal. If your clients are aware of what is causing them a detriment or loss via their current website design, your proposal will use the weight of truth to convince them of their own needs. People spend money when they know it will maximize their lives and business.
Some of the pain points you can cover in your web design presentation include:
- The problems your client is currently facing
- The reasons they needed your services
- How your proposal will improve their business function
- What their business could look like in the future after applying your proposal

3. Overview of the Solution
This section will detail how you intend to solve the problems you detailed in step 2 above. This section is where you can shine the most and dazzle your clients with the design details, and how you’re going to achieve their goals with your solutions.
You don’t want to burden them with technical jargon and detailed explanations of tools and features. People can only be impressed if they understand what you’re saying. Try to focus on explaining the different methods and designs you’ll be using with their needs in mind.
Be specific and clearly demonstrate how your solutions will improve and better their website and in turn boost their business outcomes. Most businesses have a core need that consists of 3 things: Sales and revenue, cost reduction, and risk mitigation. When you get detailed and specific about how you’re going to improve on all 3 of these fronts, you’re sure to impress clients with your proposal.
A great tip for your design presentation is to thoroughly research your client’s organization. Anticipate the requirements that will be discussed within their management and the language that the organization uses. This will let you tailor your presentation to the unique specifications of your client. Showcase your preemptive ability to solve problems and anticipate their business needs.

4. Project Outline
This section is crucial for your presentation and will include the following details of your project:
Discovery & Strategy
Discovery is how you intend to gather analytics, consumer reviews, and other necessary information that is crucial in to push forth with your strategy. Strategy is then how you intend to tackle your client’s problems by using the information you gathered. Explain your plan to solve their pain points and create overall improvement, lead generation, and so forth. This is where you’ll address your online strategies and primary plans for developing their website.
Design & Build
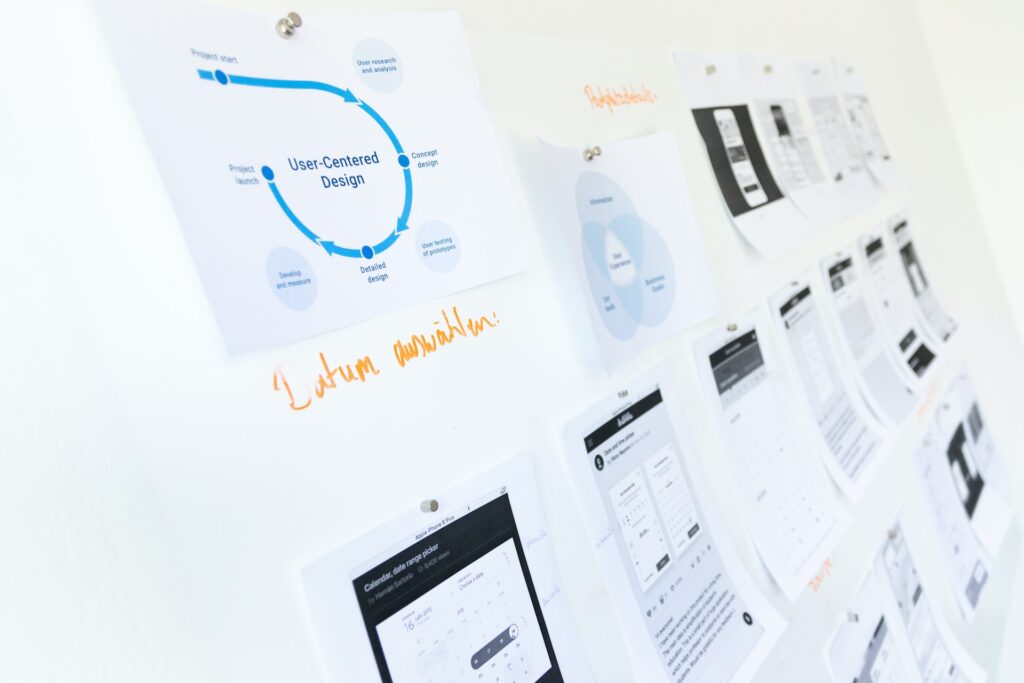
This is the visual explanation where you’ll help your client understand how the website will appear to their online audience. Starting from the very bones of the design stages, you will use this section to establish their expectations and visions for the design and framework, building up to layouts and content. Going through the design detail and getting all the necessary feedback from your clients is how you avoid confusion later.

After the design details have been established and confirmed by your client, you proceed with the building process of their site. Information such as the hosting platform, the website format, your client’s involvement, and any other pertinent detail is covered in this section.
QA & Testing
Testing your design builds before the official launch is essential. This is done internally and can include many different methods. One of which is to have a beta version set up for user feedback. It’s important to fully detail and explain all the steps you intend to take, the timeline, and what tests you’ll need to do to avoid any confusion with your client and avoid false expectations. This section, after all, is the ultimate testing ground for the quality of your build and is heavily relied on for the key insights you can gain to improve your designs.
Site Launching
This final section will outline the steps needed to officially launch your client’s site. It could include training their staff and managers on basic editing and future managing of functions.

5. Schedule and Timeline
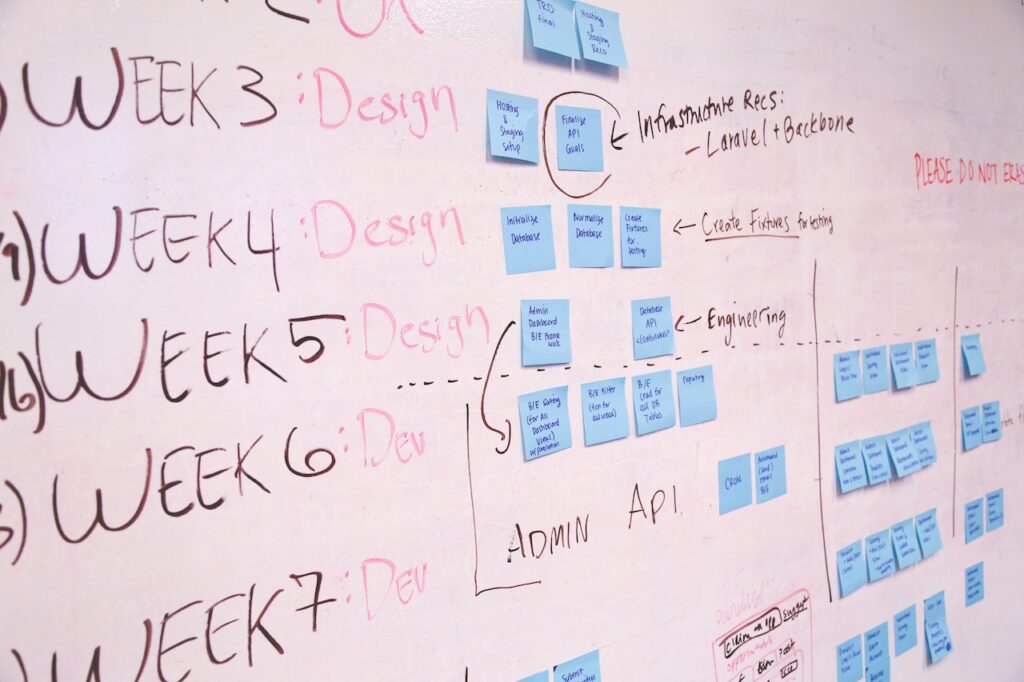
This section will highlight and detail the estimated start date of the project, the delivery date, and the time needed to complete each phase of the proposal. It’s vital to set realistic deadlines for yourself, and factor in the time you’ll need for any unexpected delays or errors. Include any participation needed from your client or their staff. By setting reasonable timelines, you’ll ensure your client is not left frustrated by any delays.
6. The Pricing
Now that you have your client interested in your proposal, this is where you detail the costs to your client. Offer multiple packages and fixed premiums that benefit your client to be competitive in the web design market.
It can be a fine line to walk when discussing about the budget. You can either overestimate and lose the deal or underestimate and lose a lot of money. So, it’s important to be familiar with how to properly price your service.
7. Terms and conditions
This final section is where you’ll finalize all the relevant details and information for the proposed project. Some of the terms and conditions you can list in your website design presentation include:
- Terms of payment
- Retainer fee
- Licensing
- Any additional fees
- Scope Change Process

8. Call to Action
This is the “close” of your proposal and will present your client with the prompts and next steps they need to accept your proposal and get started on the project. Because you have already covered the most important aspects such as the costs, the deliverables, and action plans, you can use this final section to lead them to accepting your proposal.
It all depends on how you are sending your proposal, but each method can have an inbuilt process for your client to proceed to the signature/acceptance section. If you are using a PDF to send your proposal, you can prompt your client to forward an email or receive an email with the way to proceed. There are many document signing software you can use both online and in-person, depending on the nature of your client.
The Bottom Line
You became a web designer for the joy of creating websites and you probably didn’t anticipate the level of attention needed for your proposals. But without them, it’s hard to land the clients to kickstart your web designing journey.
By using the framework we presented above, you’re well on your way to setting up a perfect design presentation. Keep this mighty tool in your belt, and start winning over more clients.


